This old-fashioned recipe is an easy, fast way to make an apple pie. I suspect that originally leftover scraps of pie dough were used, hence the "messy, or dowdy" appearance.
I made the dough up a day in advance (in the food processor), shaped it into a disc, and wrapped with plastic wrap, then slipped it into a zipper-top bag and into the fridge to chill.
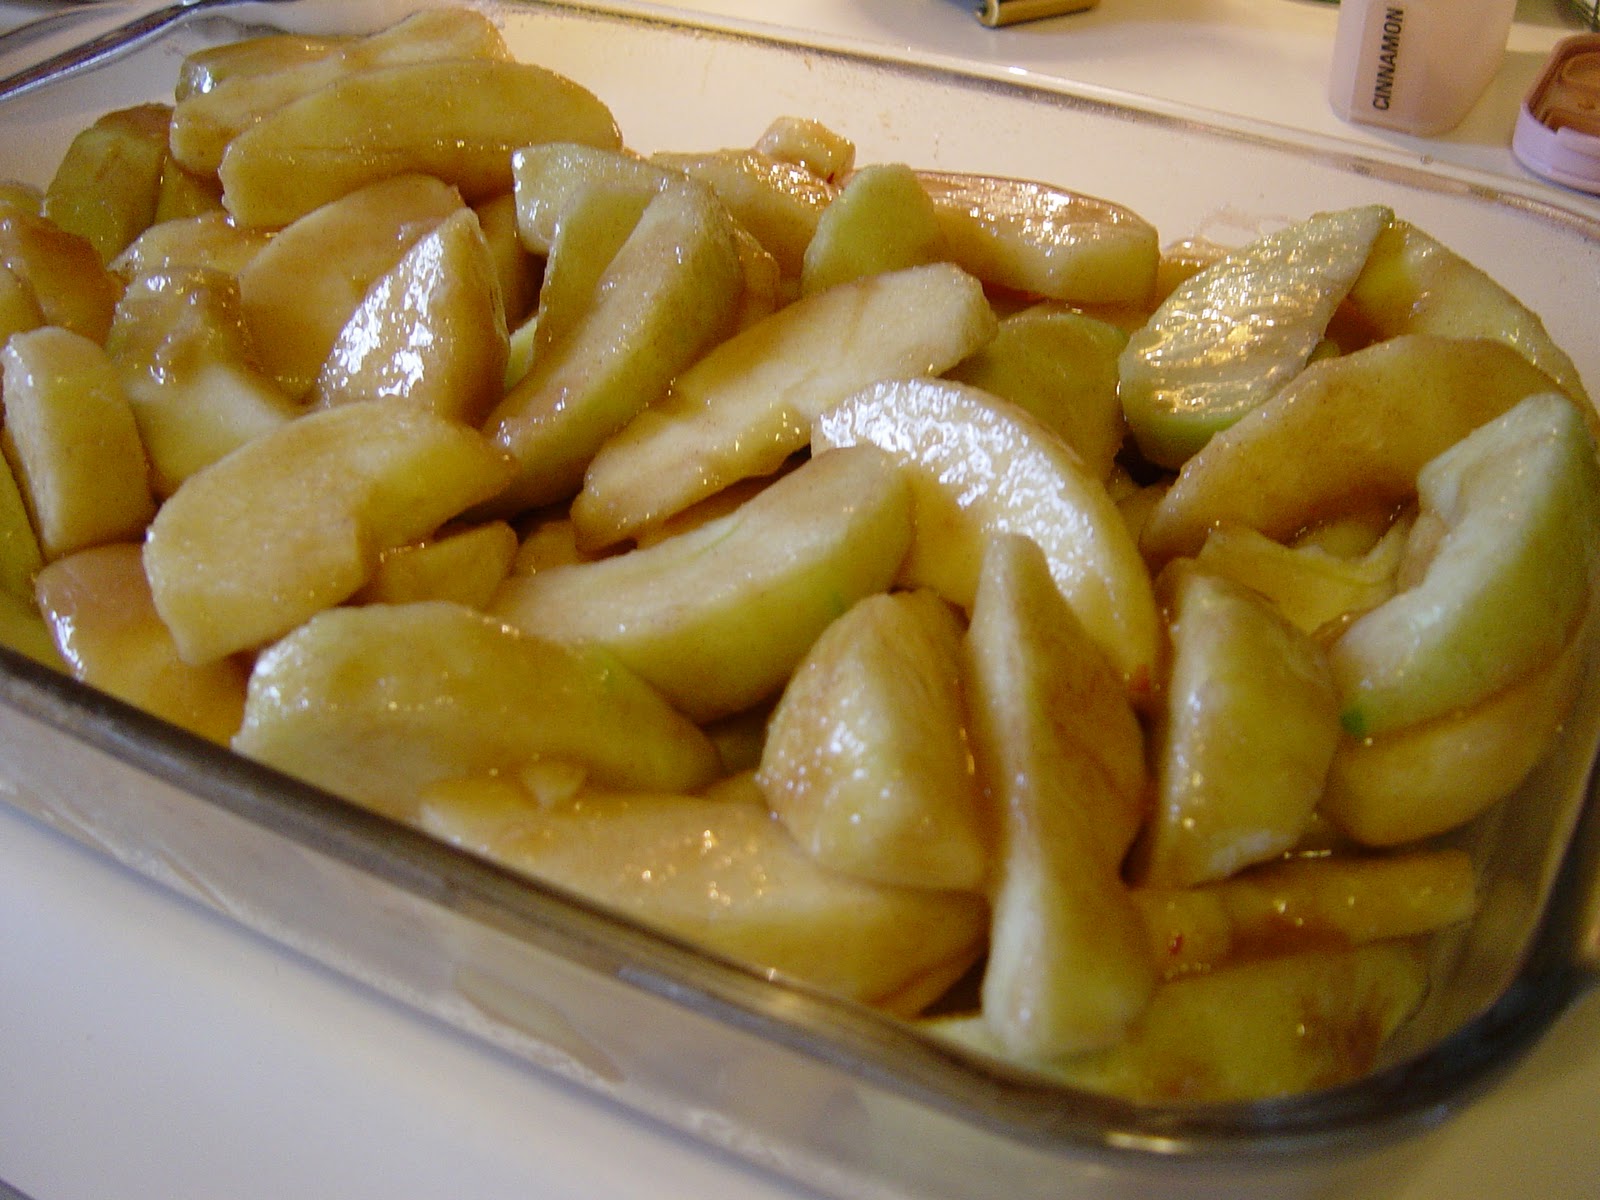
I like to use a selection of both tart and sweet apples. Cut in big hunks--I take each quartered apple and cut it into thirds for thick pieces.
The apples are tossed with a cinnamon, sugar, flour, and lemon juice mixture. Scatter butter slices on the top of the apples.
Roll out the cold dough and cut into 2-inch squares. You don't have to be perfect--this is messy pie, remember!
Lay out your dough pieces on the apples kind of like a patchwork crazy quilt, leaving a few openings for steam. I like to sprinkle the top with sugar for a sparkling appearance.
We served this dessert on Thanksgiving day. This is Miss Emma, Julia's 99 year-old Grandma eating Apple Pandowdy! Miss Emma said it was wonderful! By the way, did you know there is a song about this dish? Ben was singing it at Thanksgiving, "Shoo-fly Pie and Apple Pandowdy". I looked it up, and there is such a song sung by Dina Shore! http://www.youtube.com/watch?v=2HBDnpu5Bl4
Our Cookbook Blog
Our Cookbook ~ What We Cook, is a compilation of every recipe we (Janice and Carissa) cook - recipes from our cookbook collections, our recipe boxes, and our heads! We set up this blog for friends and family who have our cookbook to let them see pictures we post of the recipes in the book, and also for us to note any corrections, revisions, or additions to What We Cook. We encourage people who are cooking our recipes to let us know how the recipes turn out and any suggestions they might want to make.
In addition, we will be sharing some of our new recipes (along with pictures) that are not in our cookbook. We hope you will help us out and test recipes and give us your comments.
Wednesday, December 1, 2010
Saturday, November 27, 2010
Cranberry Bread ~ page 313
I baked this bread for Julia last week, a few days after her baby boy was born. It felt like celebration bread with all its cheerfulness! I have had this recipe since my own kids were little. In fact, I got it from a child's magazine with recipes to cook with your mom! Back in those days, I did not have a food processor to chop my cranberries, so I meticulously cut them in quarters one cranberry at a time!
I used frozen cranberries in my food processor this time--and don't tell anyone, but these frozen berries are 3 years old! I am serious. I bought a really huge bag at Sams 3 years ago...and I have not used it up! They still taste as good as ever.
I mix the chopped berries in with the dry ingredients. This cuts down on the final stirring after the wet ingredients are added.
The raw batter looks pink, but don't worry, it bakes up fine.
It is a little tricky to decide if the loaf is done--check the center with a toothpick. I took my loaf out, then 5 minutes later decided it should go back in for another 5 minutes. No harm done.
After a few minutes to cool, I turn the cranberry bread out onto a rack.
One thing nice about this bread, is that it is low in fat--only 2 tablespoons of butter. So now you can feel free to spread it with butter if you like! This is very good toasted for breakfast. If you don't have old cranberries in your freezer like me, then you need to buy some this month to make this or you won't have the chance again for a year!
Saturday, November 20, 2010
Dark Molasses Bread ~ page 278
Carissa just made this bread today--I made the recipe a couple weeks ago, and mis-measured my water, so even though my bread worked and tasted great, it looked different than it was supposed to. But that is the nice thing about yeast breads--they are very forgiving, which is why no one should be afraid to make bread. Here is what my bread from the same recipe looked like...
The unusual thing about this bread is the pureed raisins. This raisin juice helps give a rich sweetness to the bread and also keeps it moist. The recipe says to add 2 cups water to the raisin, oil, molasses, and brown sugar mixture...
but I like to wait till the raisins are pureed before I add the water--it seems less messy.
Her is the mixture with the water added. Carissa did not do this, but when I told her how I mixed it, she agreed that this is a good tip.
Carissa's bread had a few raisins showing, that had not pureed completely. But like I said, homemade bread is very forgiving, and it really does not matter how it looks, it still always tastes great!
I ate supper at Carissa's house tonight, and Evelyn gave the bread a thumbs up (she learned that from her big sister!) ~Janice
Thursday, November 18, 2010
Mississippi Mud Brownies ~ page 239
Think about a cross between a brownie and a piece of fudge...then add just enough creamy marshmallow layer and chocolate drizzle to put you into chocolate dessert heaven...okay, you are getting into the groove of the Mississippi Mud Brownie! This easy brownie is dressed up enough to be a fancy brownie dessert for company. (You will need to have company so you don't eat more than you should...)
Pour the easy to mix batter into a pan lined with aluminum foil, and leave "handles" on the ends of the foil. This makes it where you can lift the cooked and cooled brownie from the dish and put the whole thing on a cutting board for clean, neat cuts.
As soon as the brownie comes out of the oven, you will add a thin layer of marshmallow cream over the top. Blop the marshmellow cream on first, let is sit a minute to warm, then spread it out. This is actually a very thin layer-just 1 cup-of the cream. This gives a nice topping to the brownies, without getting too gooey or overly sweet.
Now drizzle on the melted chocolate...have fun here.
Here is a chocolate drizzle tip I learned from Carissa: Put a plastic baggie over a small glass, then pour in the melted chocolate, seal the bag, then snip off one corner of the baggie. This is a quick and easy way to drizzle chocolate with no mess.
After a couple hours of cooling time, you are ready to take the foil handles and lift the brownie (with the foil) from its pan. If you have one of these tools, called a bench scraper, it makes cutting fast and easy. But a long knife will work well too. These brownies freeze very well in a Tupperware dish. Be careful about putting them in zipper-top baggies though, as the marshmallow and drizzle will smear if it is bumped or touched. Now, pour a cup of coffee (or milk) and enjoy a decadent dessert!
Monday, November 15, 2010
Grandmother's Best Stuffing ~ page 83
Our family celebrated Thanksgiving last Saturday, November 13th. I know that sounds early--but it was the only time that all the family could be together until several days after Thanksgiving day. (Deer hunting was our problem....) So of course, I had to make Grandmother's Best Stuffing from our cookbook (after all, I am the grandmother of all these kids)...
Yes, there are 8 of them, all under 5 years of age! And that baby I am holding is only ONE day old--I am serious! Julia home-birthed this 9 pound 3 ounce beautiful boy the day before, but she and baby Pace still made it to our Thanksgiving lunch!
Okay, back to the stuffing...I have been saving up leftover cornbread in my freezer for a couple months just for this recipe. I use about 2/3 cornbread, and 1/3 or so quality white bread. I think it is important to use good bread--not the cheap stuff. Cube the bread and cornbread and dry it out for a few days on the counter, or in a low oven.
Now saute the vegetables until soft.
Mix everything in a large bowl. I add a handful of raisins and some dried cranberries to the mix because my husband likes it that way. Feel free to add more broth than what is called for if you want a moister dressing. I make it a little on the dry side so I can add lots of turkey gravy on top! Happy early Thanksgiving to all our cooking friends!
Friday, November 12, 2010
Corned Beef Hash with Eggs ~ page 312
I made my mom's Forgotten Short ribs (which you need to make if you haven't!!) a couple days before and had enough leftovers for this recipe. So I didn't use corned beef, I used cooked boneless short ribs. Oh, my was it yummy! It was a super fast dinner to throw together. The kids and husband both gobbled it up. I whipped up my Belgium waffles from our cookbook and some bacon for a very filling meal. Just don't overcook your eggs like I did....a runny center is what you want. I had mine perfect, but had to cover them another 10 minutes until I could get Adam and the girls to the table, so they steamed a bit longer sitting there, but were still delicious. --Carissa
Tuesday, November 9, 2010
Pumpkin Spice Bread ~ page 325
Well, Carissa's bread inspired me I guess, along with the 15 pound pumpkin I roasted and pureed! I made a giant batch of pumpkin soup as I was making this Pumpkin Spice Bread. I made a slew of modifications though, since I was wanting a healthier bread for the family and freezer. I used 2c regular flour plus 1c whole wheat plus 1/3c flaxmeal. Also omitted 1/2c sugar and subbed half the oil for applesauce, then added 1tsp baking powder to help with the whole wheat flour I used.
My pumpkin was much more runny than canned would have been, so I measured out 2 cups and let it drain a while.
Then I realized I'd be adding 1c of water back to the recipe, so I added to my pumpkin liquid to get to the 1 cup. And these are the random but delicious cakes I got... They were light and fluffy and moist - highly recommended!!
This last one is a vintage tin that bakes little loves about double the size of a muffin, maybe a little less. They were really cute and a nice portion size. It was handed down to me by Janice when she found it wouldn't fit in her Houston house's little oven!
Monday, November 8, 2010
Pumpkin Spice Bread ~ page 325
Nothing says Fall to me more than pumpkin bread! I just love the smell, and taste of it! Below is Evelyn as usual helping with the baking...it is like she can hear me turn the oven on from across the house.....then she comes running with her stool to help.
A bowl with a spout makes pouring the batter super easy and mess free.
I wanted several loaves to give away...so I made 5 smaller ones. Cook them less if you do this. I think I took 10-15 minutes off the total baking time.
Yum!!! Can't wait to toast the leftovers for breakfast. --Carissa
Tuesday, November 2, 2010
New Trick with Pizza Dough ~ page 285
Carissa did a long post on this pizza dough back in April--be sure to have a look. I made this recipe today just to put a couple pizza crusts in my freezer for a quickie meal when I need it. And I learned something by accident that I thought I would share, plus one of my little tips that is not in the cookbook.
Notice something different about the two crusts in this picture?
The crust on the right I rolled out first and popped it into the oven to bake. While rolling it out, I struggled to get it to roll as thin as I wanted it to be--it kept drawing up, so I just gave up and baked it. The crust on the left, I rolled out then left it to sit for 10 minutes waiting for it's turn in the oven while the first crust baked. When I gave the second crust a final roll, I noticed it rolled out very nicely without a struggle. Later today, I mentioned this oddity to Carissa, and she just smiled and said she knew that if you let your dough rest 10 minutes, your crust will roll nicely and stay put without drawing up. Somehow, Carissa had failed to let me in on this little secret she had read about some time ago! But as you can see in my two crust shapes, it works!
Now for my own little pizza crust tip: I like to sprinkle my pan with a dusting of cornmeal, then lay my crust on top the cornmeal. This kind of creates a layer of air between the crust and the bottom of the pan, and makes for a very crisp crust.
A homemade pizza crust in the freezer is like fast food at your fingertips. You can have a delicious pizza in the oven almost as fast as you can make a sandwich!
Thursday, October 28, 2010
Spicy, Healthy Meatloaf ~ page 171, Make & Freeze!
We have so many people ask about freezing recipes--well, we freeze most anything, though there are some things that are more "freezer-friendly" than others. This meatloaf is a classic for the freezer. I often make this just to divide up in portions, package, and freeze.
Today, this loaf was divided 3 ways--half to freeze for a meal to take to someone, then 2 double serving portions for my own use. Oh, and I had to cut one slice to taste, of course...This recipe has a generous amount of sauce, so when I package up each portion, I add a little more sauce to each one.
I want to pass on a little trick I learned today--this meatloaf has some good veggies in it--carrots, celery, onion--and the recipe says to chop them small in the food processor (or by hand), then sauté in 2 tablespoons butter. I was in a hurry today, so I decided to skip this step, thinking those veggies are so small, they should cook just fine in the meatloaf--and the added bonus, is this deletes 2 tablespoons of fat! I gave it a try and found it made no difference at all. So feel free to skip the last half of step 1 in this recipe.
Here is a close up of this flavorful, healthy meatloaf--even chock full of vegetables, it has good texture and stays together nicely when sliced. I used half turkey/half beef this time, though it usually just depends on what I have on hand.
Tuesday, October 26, 2010
Apple Cider Salad ~ page 59
This "salad" can double as a light dessert, a morning breakfast, a healthy snack...it fits just about anywhere in your day! The fresh simplicity of this is what makes it so delightful. But forget about artificially brightly colored Jello salads--this is just the natural color of fresh apple cider, so the color is not going to wow you, but I promise you, the flavor will!
I only make this salad in the fall, because that seems to be the only time I can find fresh apple cider in the graocery store. Good cider is crucial to this recipe. Basically, this is fresh, bright, tangy apple cider with unflavored gelatin added to make it set up and form a base for crisp apple dices and chopped walnuts.
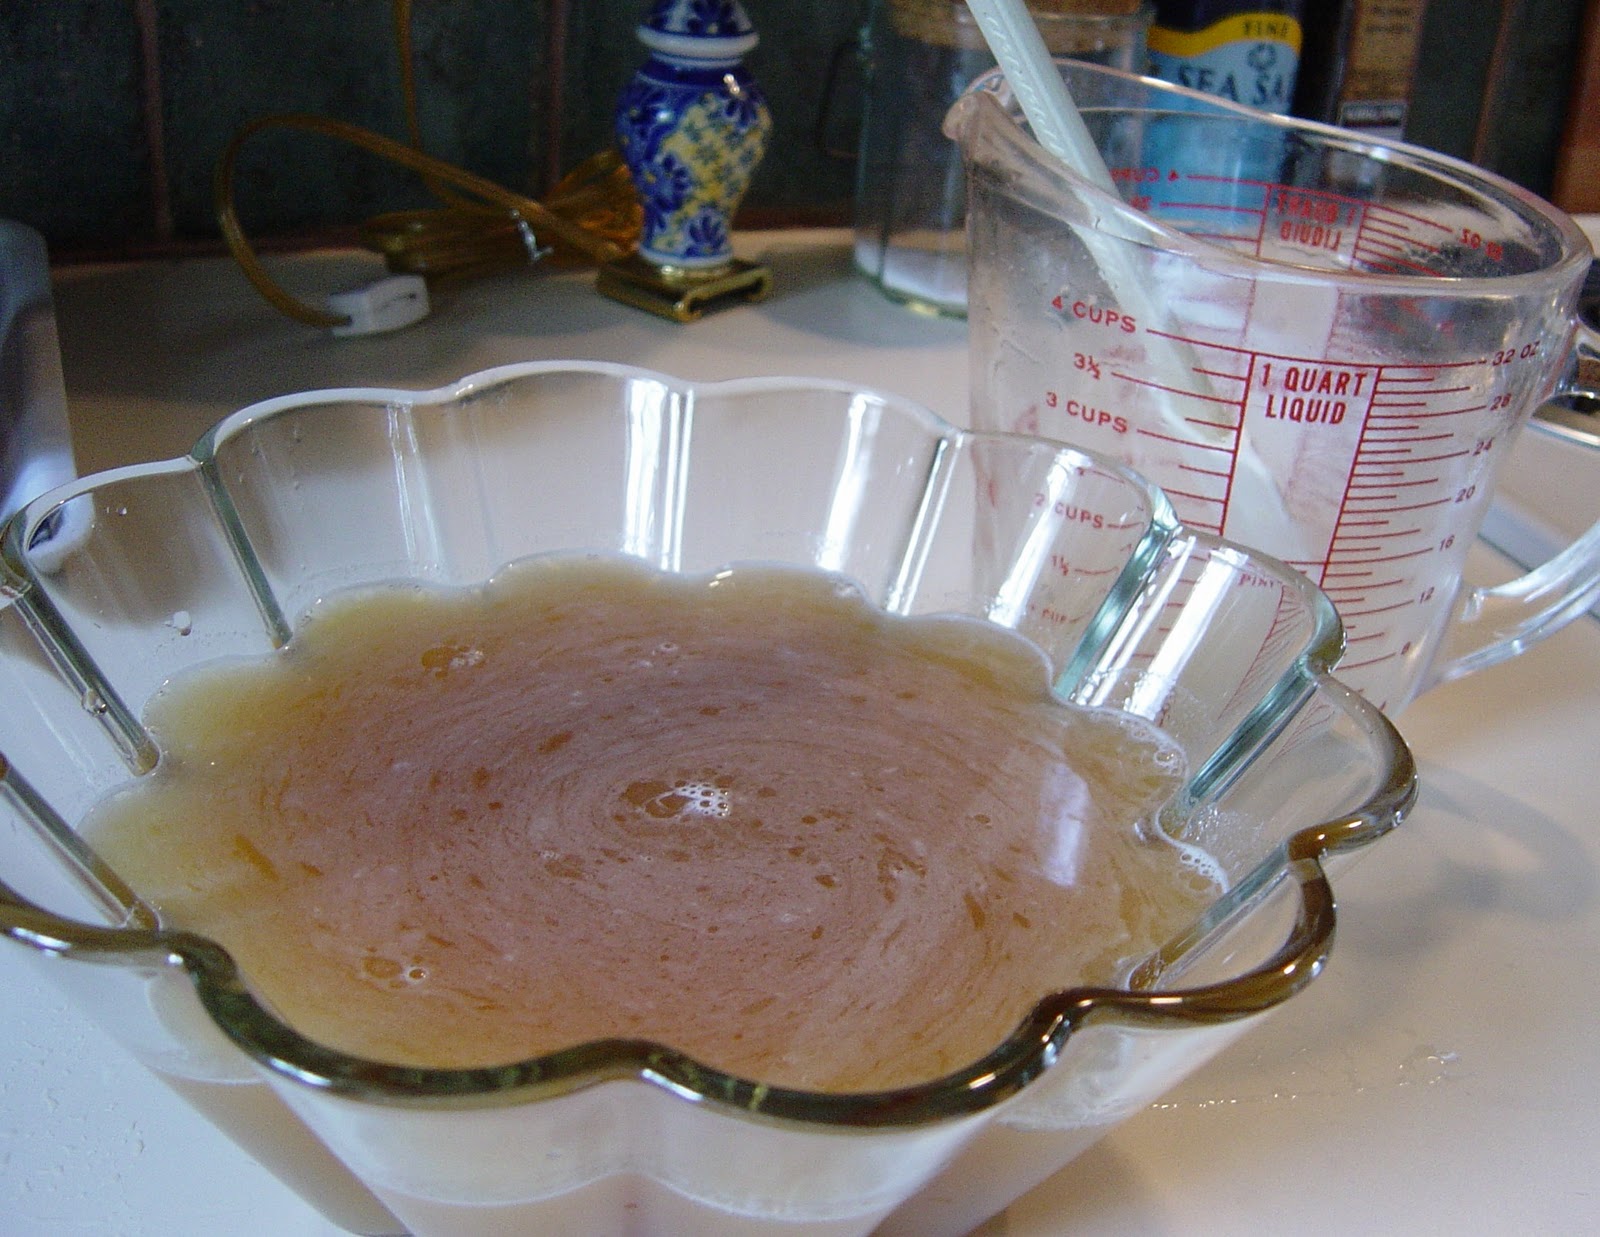
Unflavored gelatin is dissolved in a small amount of warm cider. Just a touch of sugar sweetens it up, and some fresh lemon juice brightens the flavor.
The gelatin is then refrigerated for 1 1/2 hours or so, to barely set up.
Then apples and walnuts are stirred in--then back in the fridge it goes.
You can eat this in a couple more hours for a soft-set, or wait till the next day for a firmer gelatin salad. This will last for several days in the refrigerator--if you restrain yourself from eating it all the first day...
Monday, October 25, 2010
Date-Filled Baked Apples ~ page 252
This is one of my mom's recipes in the cookbook...and it was YUMMY! Knowing that it didn't have any fat in it besides the walnuts made it taste even better! We had some friends over for dinner and she couldn't eat anything with dairy in it. It is hard to find a dessert with no butter, cream, or chocolate in it.. but this was perfect.
Here are the kind of apples that I used...I think they were Gala, but I can't remember. If you don't already own an apple corer..this recipe would be a good excuse to get one. They are fun and easy to use. I slipped this in the oven as we sat down for dinner and they were ready as soon as we were ready for them!
The only thing I would say about the recipe is that I served mine in a bowl with a spoon, the peel on the lower half was a little hard to cut with a spoon. My mom serves hers on a plate with a fork and knife, so the skin isn't an issue. I might peel the whole apple next time, although the peel did taste great too. Lillian (the 5 year old) gobbled hers and half of another one right up!
Subscribe to:
Posts (Atom)